Summary
- Disabling Windows services and apps you don’t need can free up your PC’s resources and improve performance.
- Turn off Connected User Experiences and Telemetry along with Remote Desktop services.
- Free up system resources by disabling Microsoft’s AI features, like Copilot and Recall.
If there’s one thing that frustrates me about my Windows PC, it’s when it suddenly slows down and has too many unnecessary background processes and services running. While some of these services are essential, many are not, and disabling them can help free up your PC’s valuable resources and give you that extra boost of performance you might need.
Fortunately, disabling unnecessary background services or apps is simple, and you can improve your PC’s performance — whether it’s new or old — by freeing up system resources once dedicated to them. Here are five Windows 11 services I disabled for better performance, along with instructions on how to do it.
Connected User Experiences and Telemetry
Stop sending your data to Microsoft in the background
Connected User Experiences and Telemetry is typically one of the first services I disable when I set up a new Windows 11 PC. What it does is send data to Microsoft about your PC, including crash reports, usage patterns, and general system insights, which Microsoft says it uses to “improve the experience and quality of the Windows Platform.”
If you prefer to keep your diagnostic and usage data private and out of Microsoft’s hands, then disabling this service is a simple way to do so, while also freeing up system resources. To disable it, open the Services app, which can be done by searching for “Services” in the Windows Search bar. Once you’ve opened it, find Connected User Experiences and Telemetry in the list of services, right-click it, and select Properties. From there, you can stop the service from running and change its Startup Type to disabled.
Additionally, if you want to stop the collection of diagnostic data from your PC, go to Settings > Privacy & Security > Diagnostics > Feedback, and disable Send optional diagnostic data if you haven’t already done so. You can also delete any diagnostic that has been collected from your PC by selecting Delete Diagnostic Data, which deletes it from your system, but also Microsoft’s systems.
Remote Desktop Services
You can always turn it back on if you need it
If you don’t plan to access your PC remotely anytime soon, disabling Remote Desktop Services is an effective way to free up system resources and maintain your PC’s security. Although I occasionally access my PC remotely, it’s very rare, and there’s no need for this service to run constantly for something I only do once or twice a year.
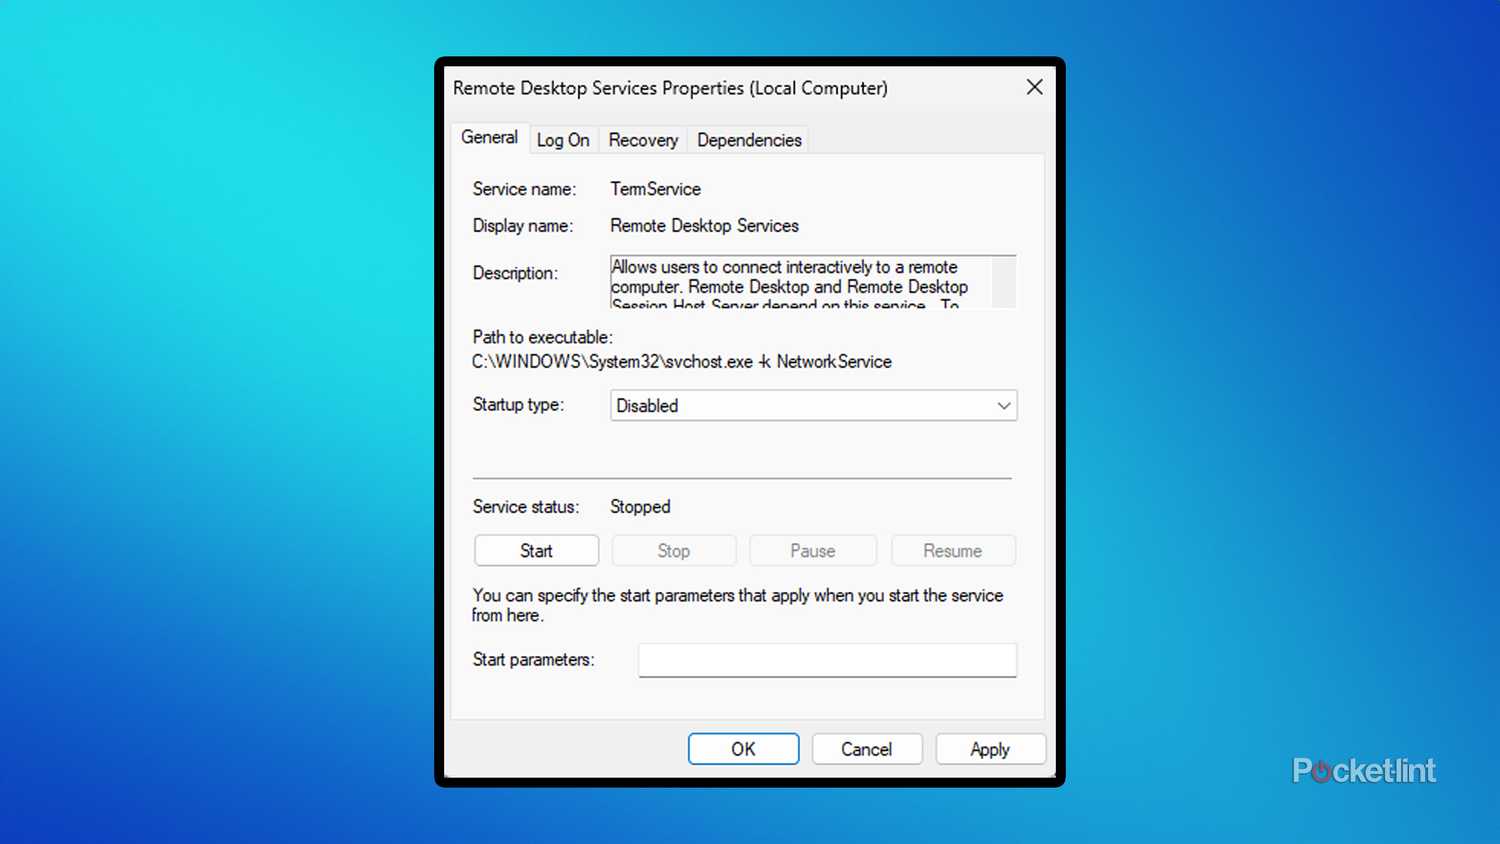
If you’re in the same situation, you can also disable Remote Desktop Services by opening the Services app, finding Remote Desktop Services in the list, right-clicking it, and selecting Properties. From there, you can stop it and set its Startup type to disabled. If you need it later, you can easily re-enable it by following the same steps.
Windows Update Delivery Optimization
An unnecessary feature if you only have one Windows PC
Keeping your PC up-to-date helps ensure it runs smoothly, but some parts of the updating process can slow down your PC, and Windows Update Delivery Optimization is one of them. The purpose of this feature is to speed up Windows Updates on other PCs on your local network or the internet by sharing “parts of previously downloaded Windows updates and apps” from your PC.
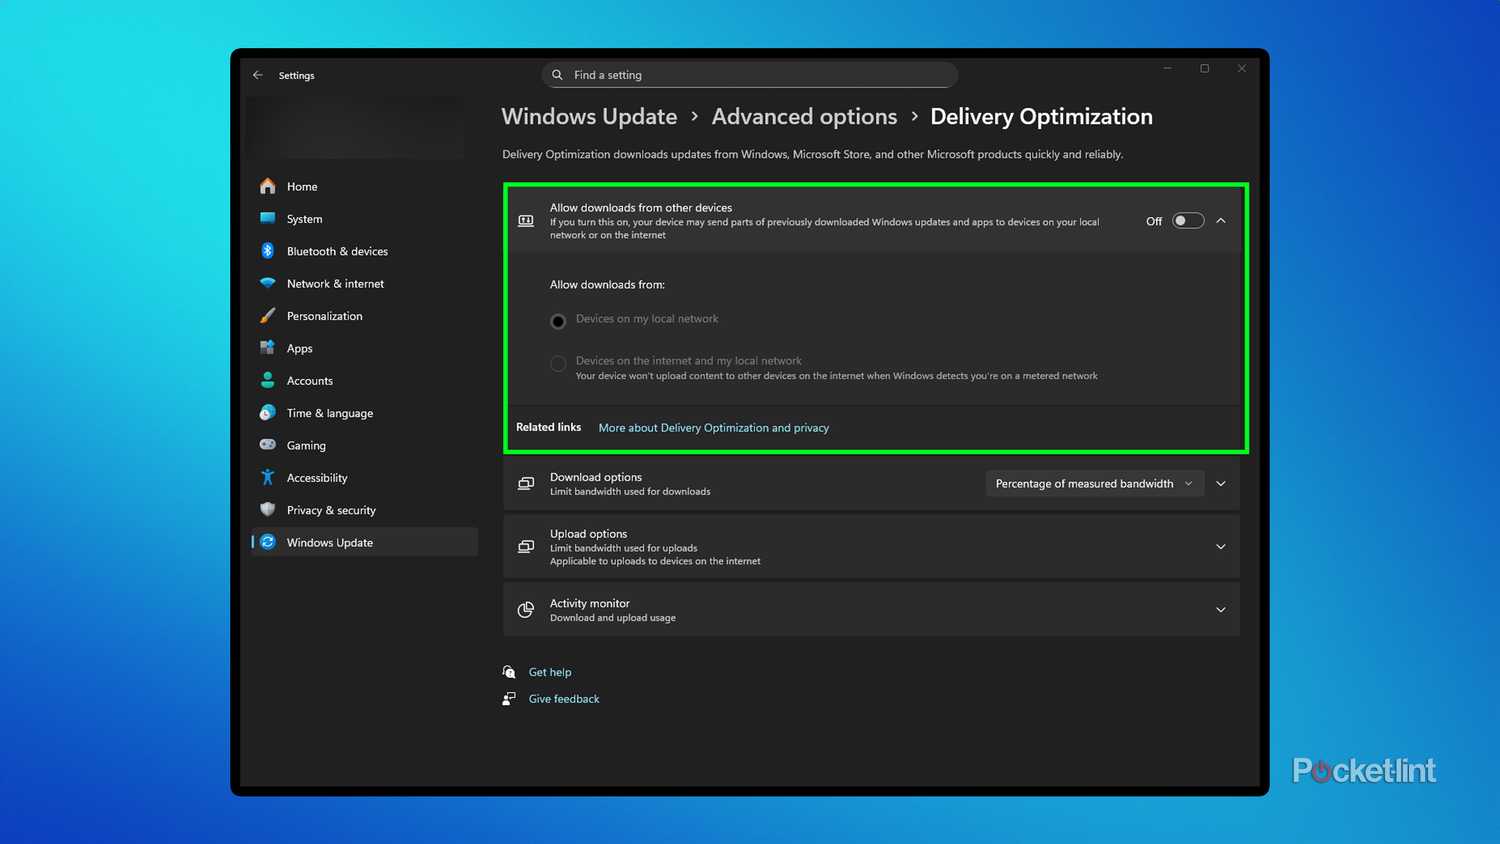
Basically, with this service running in the background, it quietly uploads pieces of Windows Updates to either your local network or the internet, making updates for other PCs faster. This service seems unnecessary to me, especially if you only have one PC at home, and if you don’t want to use it and free up the resources it might be using, you can easily disable it by going to Settings > Windows Update > Advanced Options > Delivery Optimization.
Get rid of the Xbox app
Also, a good chance to uninstall programs you no longer use and review your startup apps
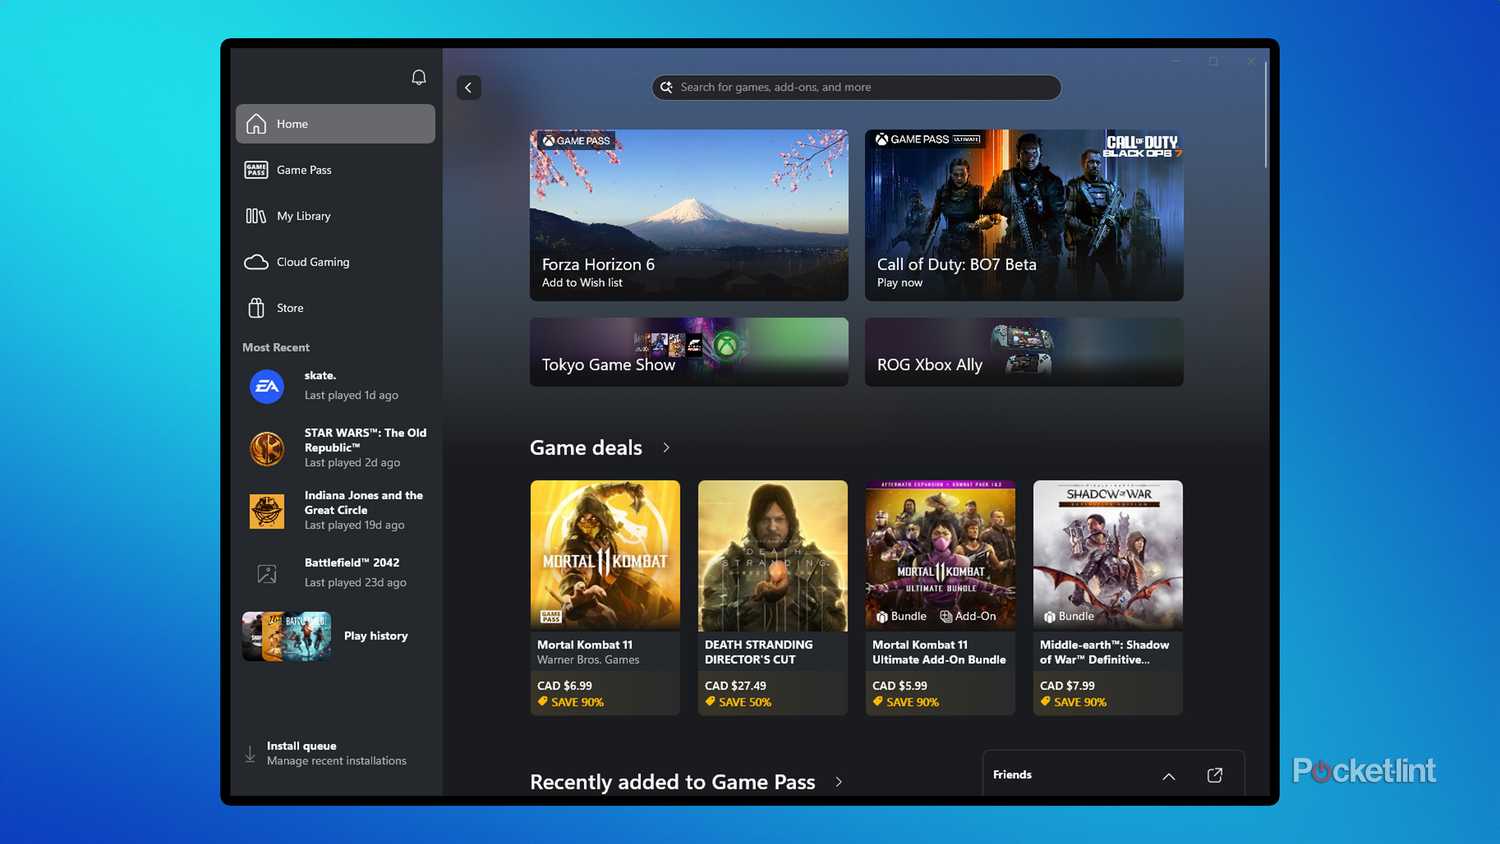
This one may be a bit controversial, but if you never use the Xbox app on your PC, then there is no sense in keeping it. Although I hardly use the Xbox app, it still maintains a background process on my PC, consuming a small amount of RAM. So uninstalling it was an easy decision. Additionally, with Microsoft increasing the price of Xbox Game Pass Ultimate and PC Game Pass recently, I doubt I’ll need the Xbox app in the future. Steam has, and will continue to be, my go-to destination for PC gaming.
To uninstall the Xbox app from your PC, go to Settings > Apps > Xbox and select Uninstall. Don’t worry, if you ever want to reinstall it in the future, you can easily do so from the Microsoft Store.
While uninstalling the Xbox app, it’s also a good opportunity to review all your installed apps and uninstall any unused apps that may be unnecessarily consuming storage space and background system resources. It’s also a good idea to take a peek at the Task Manager and see what Startup Apps you have, and disable any you don’t need to run every time you boot up your PC.
Turn off all the AI on your PC
Say goodbye to Copilot and Microsoft Recall
We’re officially in the era of AI, and Microsoft is fully embracing it, integrating AI into the Windows 11 experience through numerous Windows Updates over the past couple of years. If you’re not a fan of Microsoft’s Copilot AI, or any other of the AI features it’s started to push on Windows 11 PCs, like the controversial Microsoft Recall, then disabling them not only reclaims system resources to speed up your PC, but also rids your PC of Microsoft’s AI. A win-win in my view.
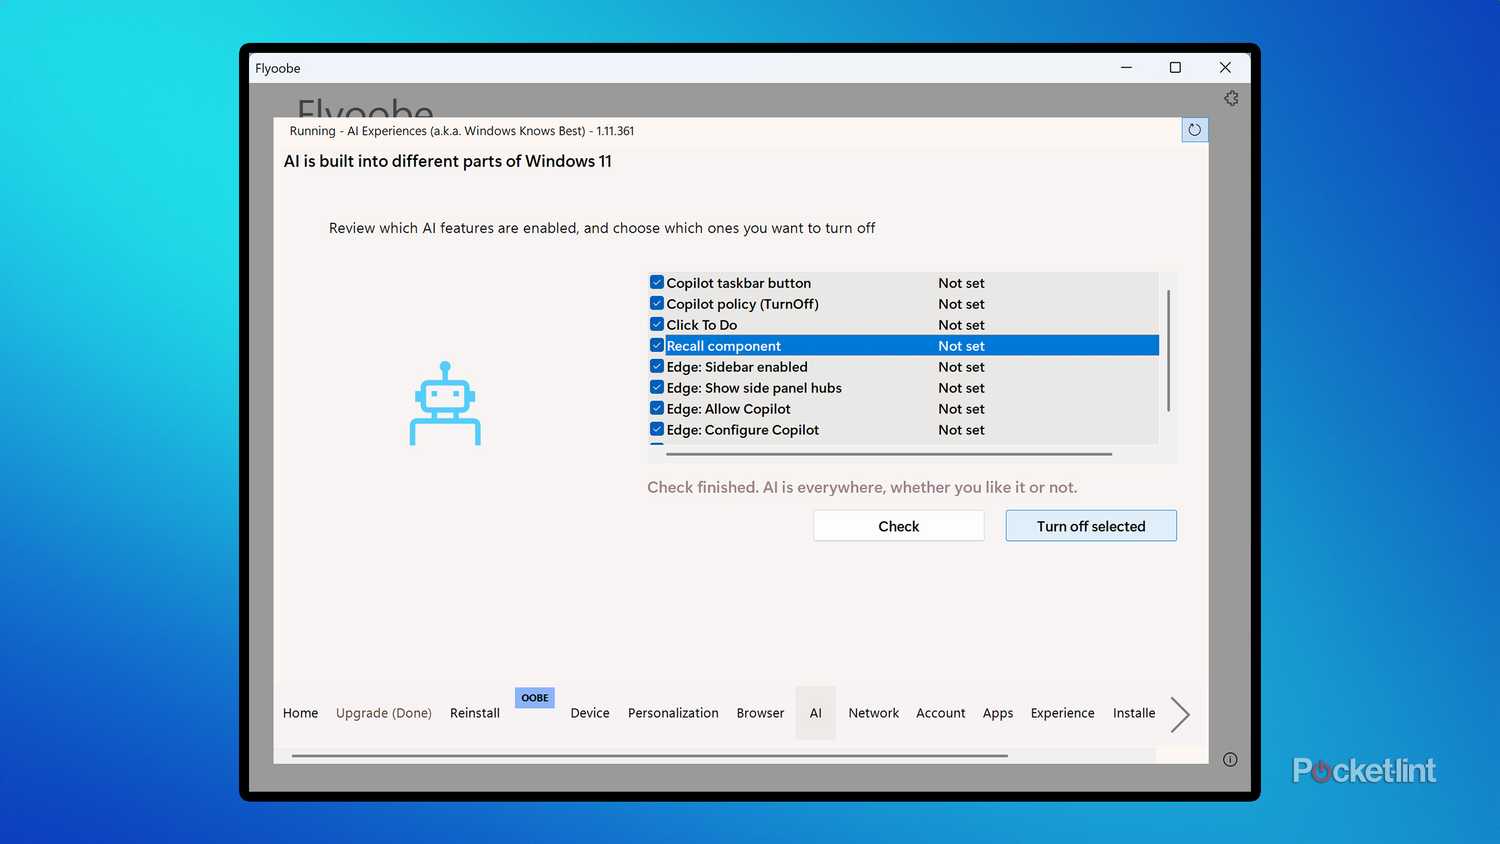
One of the best ways to disable all the AI from your PC is through a program called Flyoobe. I know this involves installing another app on your PC, but trust me, it’s worth it. Flyoobe is available on GitHub, and while its primary function is to help PCs upgrade from Windows 10 to Windows 11, it includes several customization tools that are handy for when you’re already running Windows 11, such as cleansing your PC of all of Microsoft’s AI. Once you download and install Flyoobe, you can find all the options for managing AI on your system under the “AI” tab. From there, you can check for all the AI on your PC and turn them all off.
Trending Products

Sceptre Curved 24.5-inch Gaming Monitor as mu...

SAMSUNG 34″ ViewFinity S50GC Collection...

Wi-fi Keyboard and Mouse Combo – Rii Co...

Logitech Media Combo MK200 Full-Measurement K...


